SpringBoot_集成MyBatis
时间:2019-10-30 01:24:33
收藏:0
阅读:107
Spring boot 集成 MyBatis的步骤如下:
1、在pom.xml中配置相关jar依赖
<!-- 加载mybatis整合springboot -->
<dependency>
   <groupId>org.mybatis.spring.boot</groupId>
   <artifactId>mybatis-spring-boot-starter</artifactId>
   <version>1.3.1</version>
</dependency>

<!-- MySQL的jdbc驱动包 -->
<dependency>
   <groupId>mysql</groupId>
   <artifactId>mysql-connector-java</artifactId>
</dependency>
2、在Springboot的核心配置文件 application.properties 中配置MyBatis的Mapper.xml文件所在位置:
#配置MyBatis的Mapper.xml文件所在位置
mybatis.mapper-locations=classpath:com/example/springboot01/mapper/*.xml
3、在Springboot的核心配置文件application.properties中配置数据源:
#配置数据源
spring.datasource.username=root
spring.datasource.password=root
spring.datasource.driver-class-name=com.mysql.jdbc.Driver
spring.datasource.url=jdbc:mysql://localhost:3306/exam?useUnicode=true&characterEncoding=utf8&useSSL=false
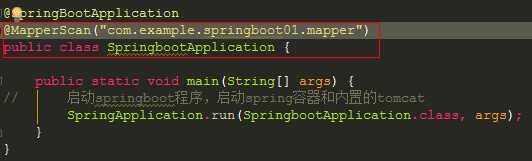
4、新建dao接口,在MyBatis的Mapper接口中添加@Mapper注解 或者 在运行的主类上添加 @MapperScan("com.bjpowernode.springboot.mapper") 注解包扫描
@Mapper
public interface TClassMapper {
    List<TClass> list();
}
或者
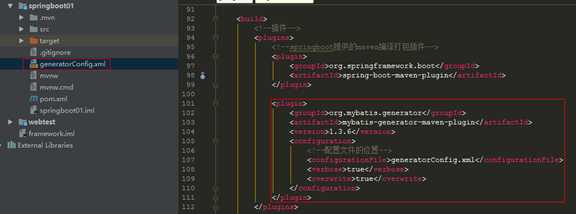
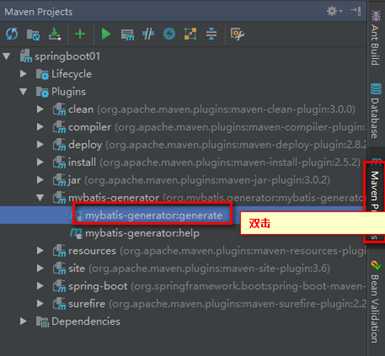
5、编写mybatis映射文件,此处使用maven对mybatis的自动生成代码插件生成
新建service和controller
public interface TClassService {
    List<TClass> list();
}

@Controller
public class HelloController {
    @Autowired
    private TClassService tClassService;

    @RequestMapping("index.do")
    public @ResponseBody Object list(){

        return tClassService.list();
    }

}
如果service注入报错,是工具的问题,改为警告即可

原文:https://www.cnblogs.com/Tunan-Ki/p/11762350.html
评论(0)