Photoshop设计简洁风格的CD包装盒效果图
时间:2015-11-25 00:17:35
收藏:0
阅读:311
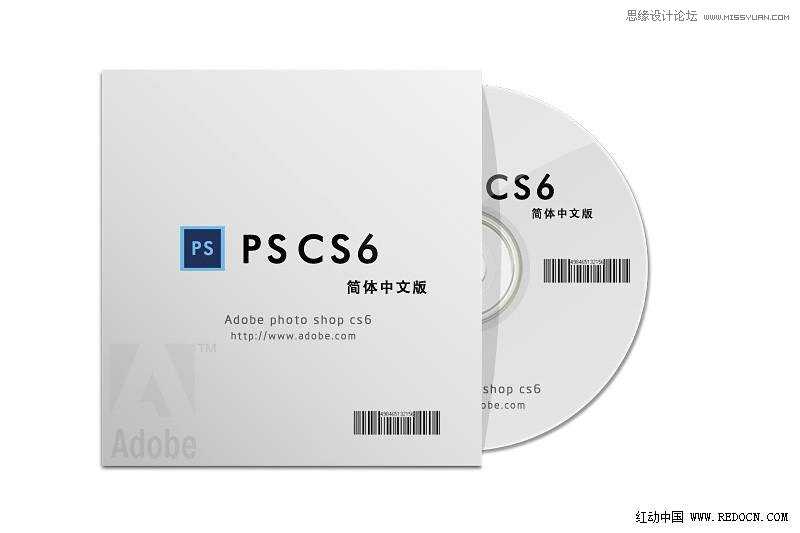
本教程主要使用Photoshop设计简洁风格的软件CD包装盒效果,效果很逼真,主要用到了椭圆选框工具、图层样式还有渐变效果。制作上并不难,按步骤绘制就可以了,感兴趣的人不妨学习看看吧。
先看看效果图
具体制作步骤如下:
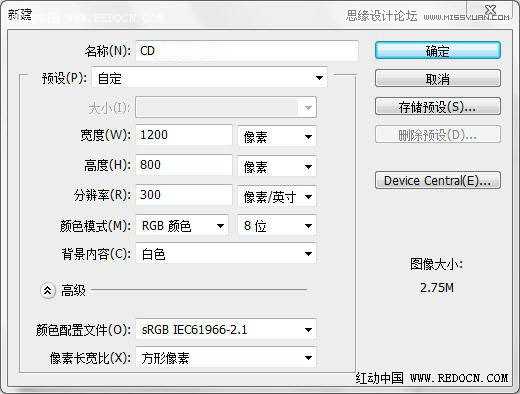
步骤1
新建一个大小1200*800像素的文件。
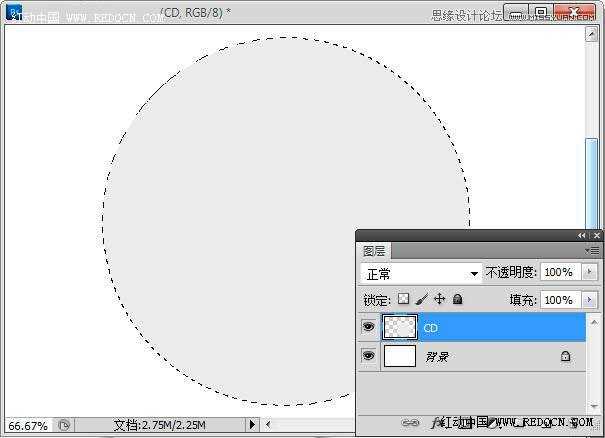
选择椭圆选框工具,按shift键绘制一个正圆,填充灰色(RGB都为235),效果如下。
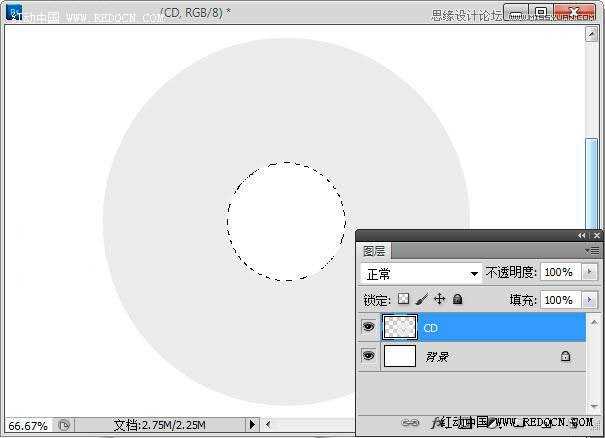
步骤2
同样绘制一个小的正圆,删除中间多余的部份,做出光碟孔的效果。
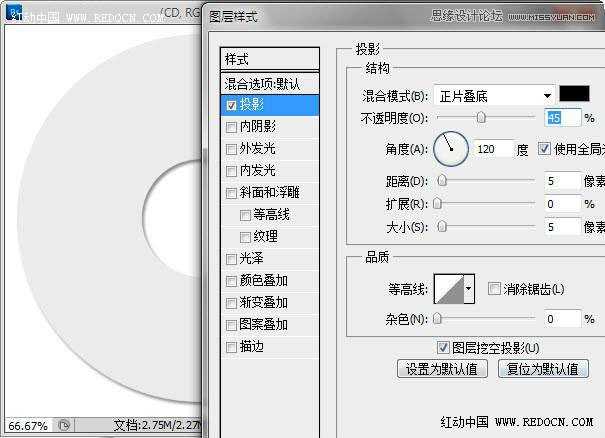
步骤3
为光碟添加图层样式,选择投影,设置如下。
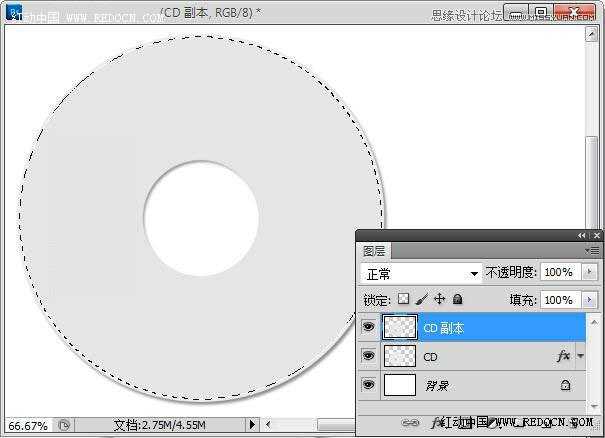
步骤4
新建一个图层,命名为“CD副本”,选择椭圆选框工具,绘制如图所示的选区,填充灰色(RGB都为229)。
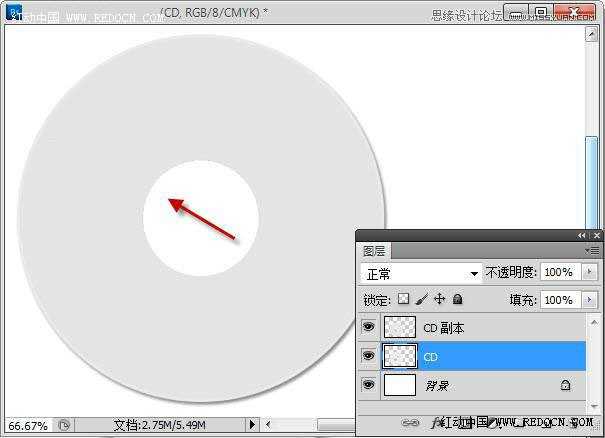
步骤5
新建一个图层,将CD图层栅格化操作,用魔棒工具选择中间阴影部分删除,效果如下。
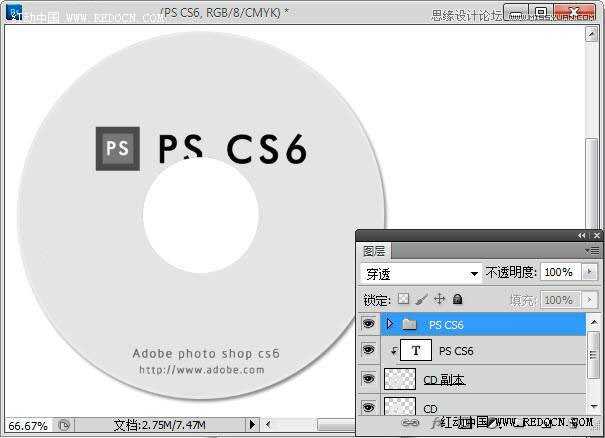
步骤6
制作一个简单的封面,添加文字内容。
步骤7
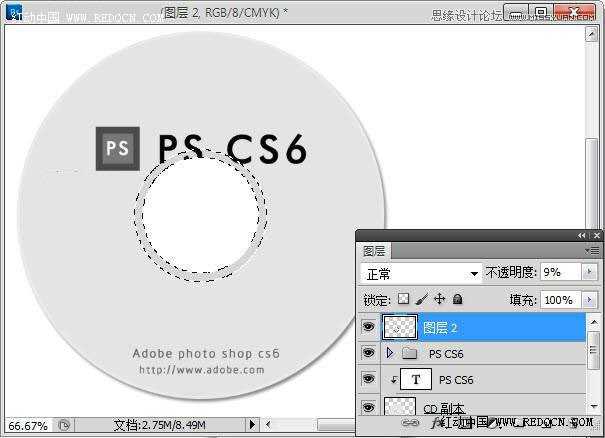
新建一个图层,选择椭圆选框工具,绘制如图所示的选区,填充灰色(RGB都为70),修改不透明度为9%。
步骤8
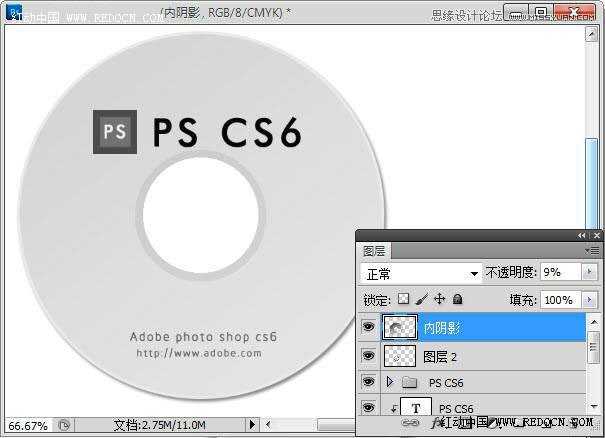
按CTRL+点击CD图层的缩略图,载入选区,新建一个图层,拉一个灰色到透明的渐变。
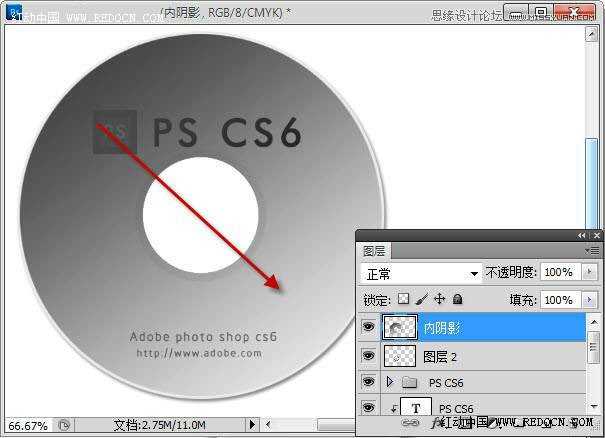
更改图层的不透明度为9%,效果如下。
步骤9
素材
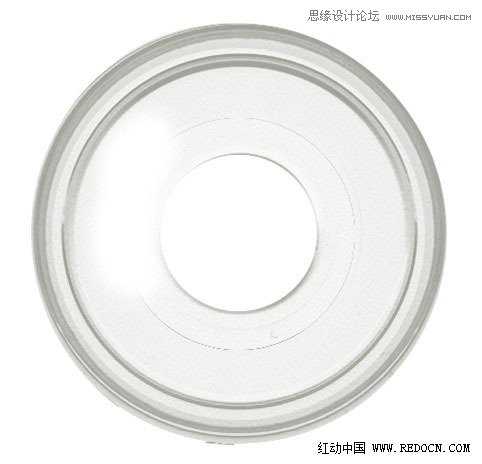
为了让光盘真实一点,素材复制进来,放到对应位置,效果如下。

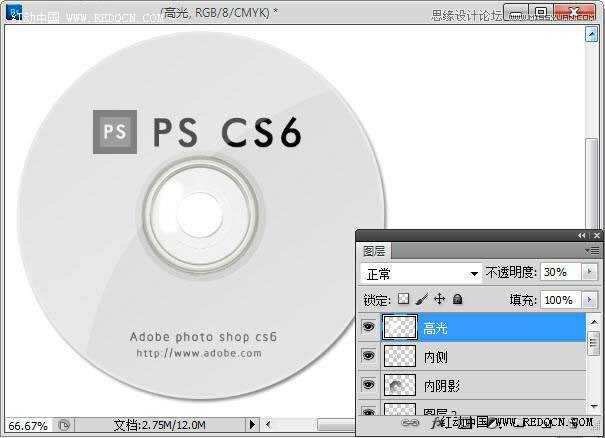
步骤10
新建一个图层,命名为“高光”,用钢笔工具绘制左边的半圆,填充白色,更改不透明度为30%,效果如下。
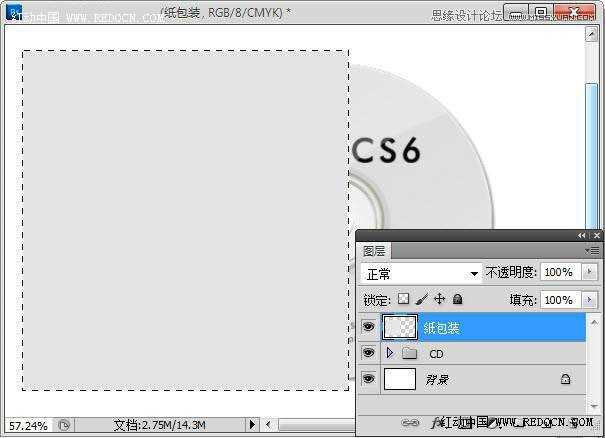
步骤11
新建一个图层,命名为“纸包装”,用矩形选框工具绘制正方形选区,填充灰色(RGB都为229)。
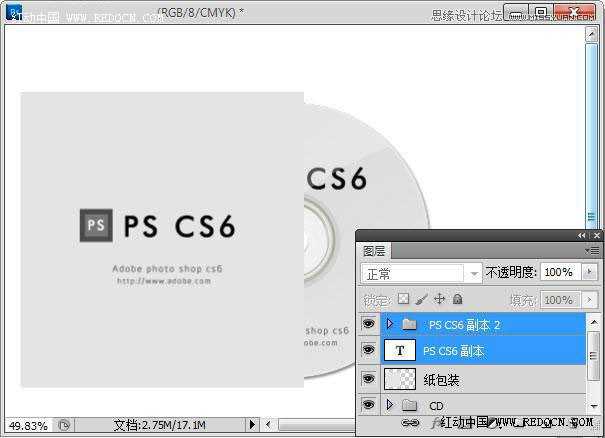
步骤12
添加简单的文字内容。
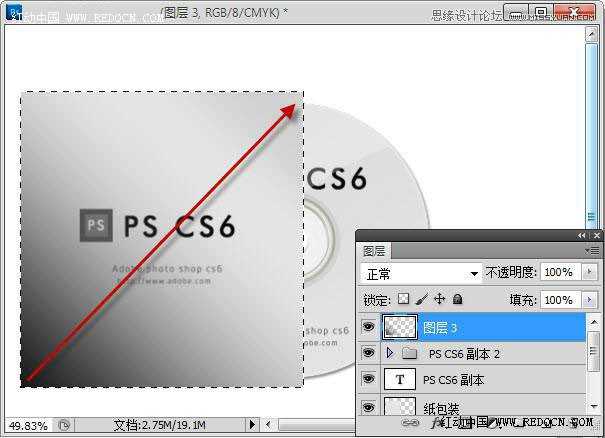
步骤13
新建一个图层,用渐变工具从下角拉一个黑色到透明的渐变,调整图层不透明度,效果如下。
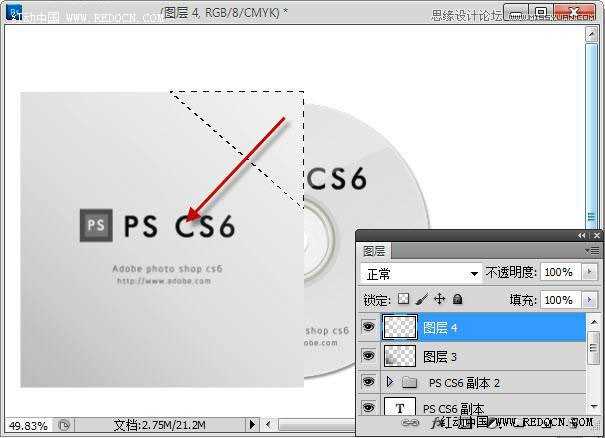
步骤14
用同样的方法,从上角拉一个白色到透明的渐变。
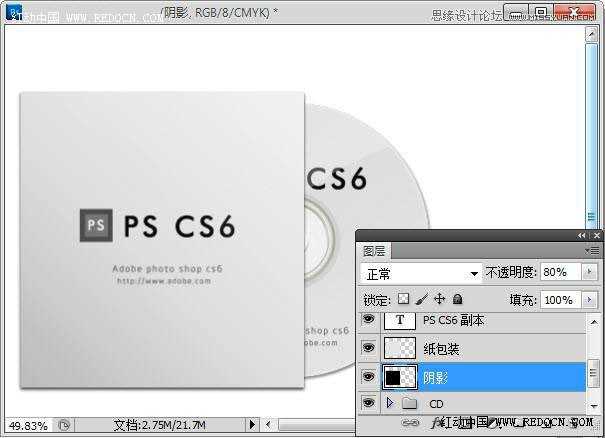
步骤15
在纸包装下面新建一个图层,绘制方形选区,填充黑色,更改不透明度为80%,执行滤镜—模糊—高斯模糊,5像素,效果如下。
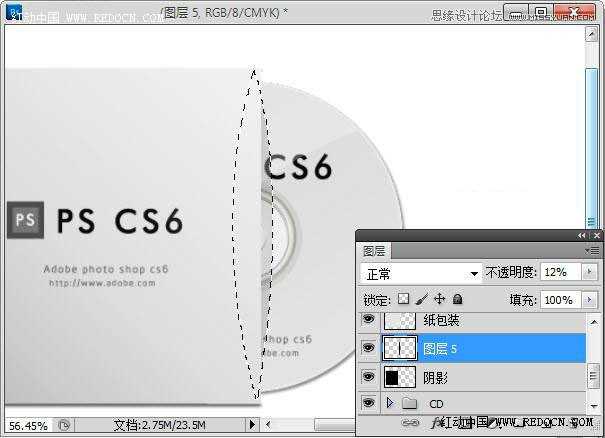
用钢笔工具绘制下面的选区,删除不需要的部分,如图所示。
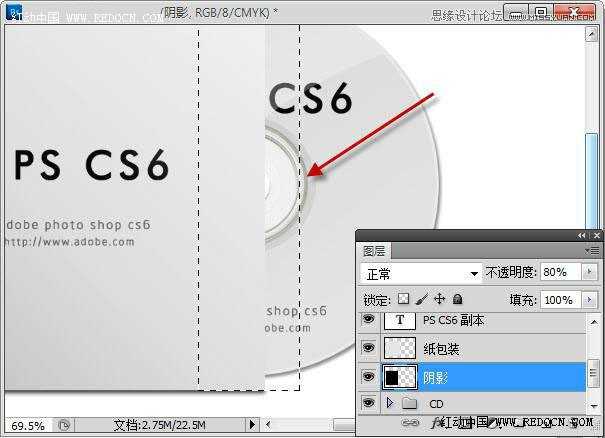
再用钢笔工具绘制下面的选区,填充黑色,更改不透明度为12%,这样阴影就做好了。
最终效果

先看看效果图
具体制作步骤如下:
步骤1
新建一个大小1200*800像素的文件。
选择椭圆选框工具,按shift键绘制一个正圆,填充灰色(RGB都为235),效果如下。
步骤2
同样绘制一个小的正圆,删除中间多余的部份,做出光碟孔的效果。
步骤3
为光碟添加图层样式,选择投影,设置如下。
步骤4
新建一个图层,命名为“CD副本”,选择椭圆选框工具,绘制如图所示的选区,填充灰色(RGB都为229)。
步骤5
新建一个图层,将CD图层栅格化操作,用魔棒工具选择中间阴影部分删除,效果如下。
步骤6
制作一个简单的封面,添加文字内容。
步骤7
新建一个图层,选择椭圆选框工具,绘制如图所示的选区,填充灰色(RGB都为70),修改不透明度为9%。
步骤8
按CTRL+点击CD图层的缩略图,载入选区,新建一个图层,拉一个灰色到透明的渐变。
更改图层的不透明度为9%,效果如下。
步骤9
素材
为了让光盘真实一点,素材复制进来,放到对应位置,效果如下。
步骤10
新建一个图层,命名为“高光”,用钢笔工具绘制左边的半圆,填充白色,更改不透明度为30%,效果如下。
步骤11
新建一个图层,命名为“纸包装”,用矩形选框工具绘制正方形选区,填充灰色(RGB都为229)。
步骤12
添加简单的文字内容。
步骤13
新建一个图层,用渐变工具从下角拉一个黑色到透明的渐变,调整图层不透明度,效果如下。
步骤14
用同样的方法,从上角拉一个白色到透明的渐变。
步骤15
在纸包装下面新建一个图层,绘制方形选区,填充黑色,更改不透明度为80%,执行滤镜—模糊—高斯模糊,5像素,效果如下。
用钢笔工具绘制下面的选区,删除不需要的部分,如图所示。
再用钢笔工具绘制下面的选区,填充黑色,更改不透明度为12%,这样阴影就做好了。
最终效果
原文:http://www.jb51.net/photoshop/171833.html
评论(0)