Photoshop 打造古典金黄色肤色的帅哥
时间:2015-11-25 00:17:30
收藏:0
阅读:288
原图
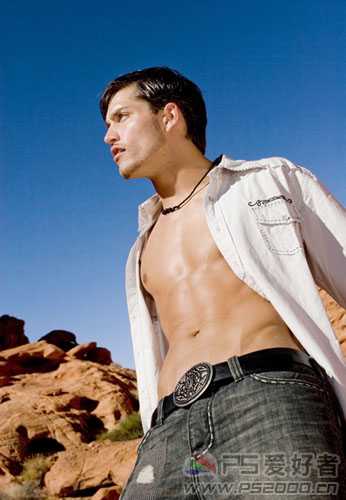
最终效果

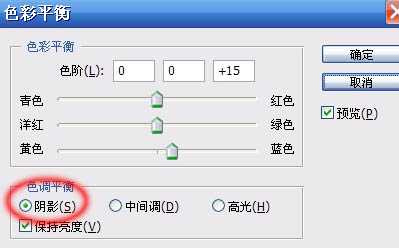
1、打开图片,ctrl+B依下图设置调整色彩平衡参数。
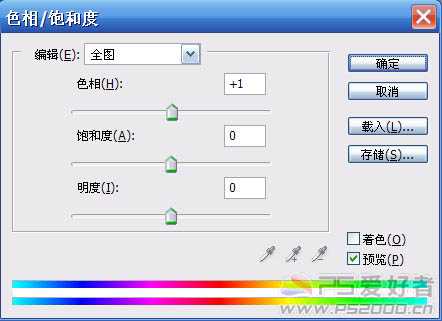
2、按ctrl+U调整色相/饱和度,参数设置如下图。
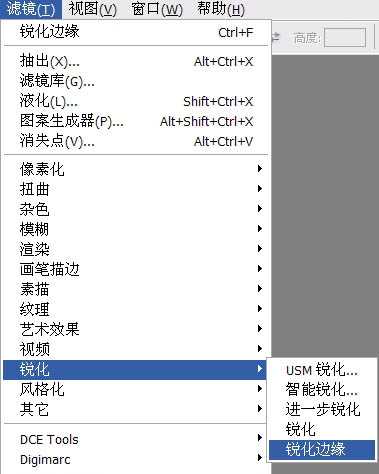
3、锐化边缘(滤镜 > 锐化 > 锐化边缘),增加图片质感。
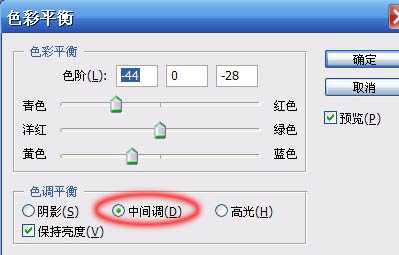
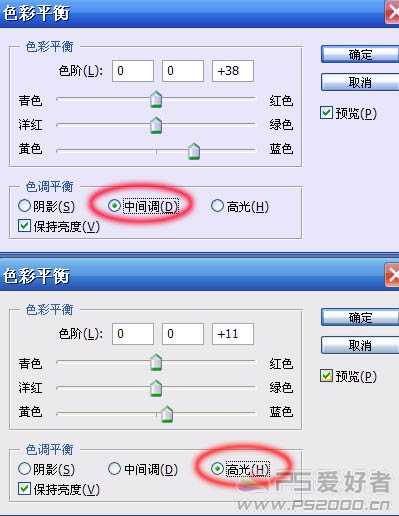
4、按Ctrl + B 调整色彩平衡,参数设置如下图。
5、双击图层,设置颜色叠加图层样式,注意混合模式为“正片叠底”。

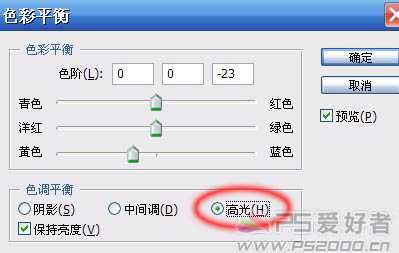
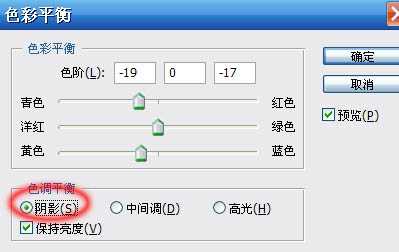
6、继续ctrl+B调整色彩平衡,参数设置如下图。

最终效果:
最终效果
1、打开图片,ctrl+B依下图设置调整色彩平衡参数。
2、按ctrl+U调整色相/饱和度,参数设置如下图。
3、锐化边缘(滤镜 > 锐化 > 锐化边缘),增加图片质感。
4、按Ctrl + B 调整色彩平衡,参数设置如下图。
5、双击图层,设置颜色叠加图层样式,注意混合模式为“正片叠底”。
6、继续ctrl+B调整色彩平衡,参数设置如下图。
最终效果:
原文:http://www.jb51.net/photoshop/26323.html
评论(0)