Photoshop CC调出数码照片质感的HDR效果
时间:2015-11-24 22:41:09
收藏:0
阅读:465
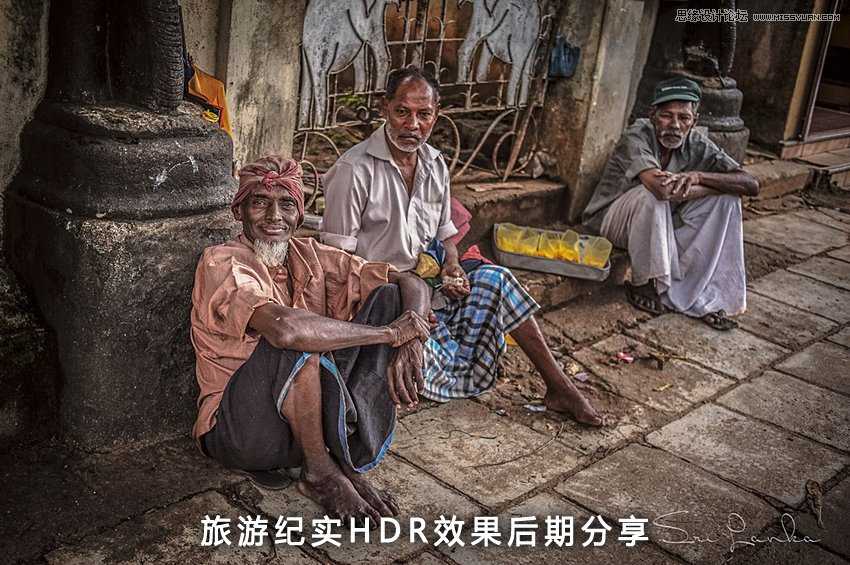
这一张是我比较喜欢的一张街头抓拍,那么我们就以这张为例来和大家分享一下我的后期,由于是旅行所以很多照片的拍摄都比较随机,抓拍的比较多,所以在能预见的前提下相机都保持开机状态,同时事先把曝光值调好,使用nef格式。
风景、纪实拍摄的片子我大部分会先用LR来预处理,70%达到我要的效果。
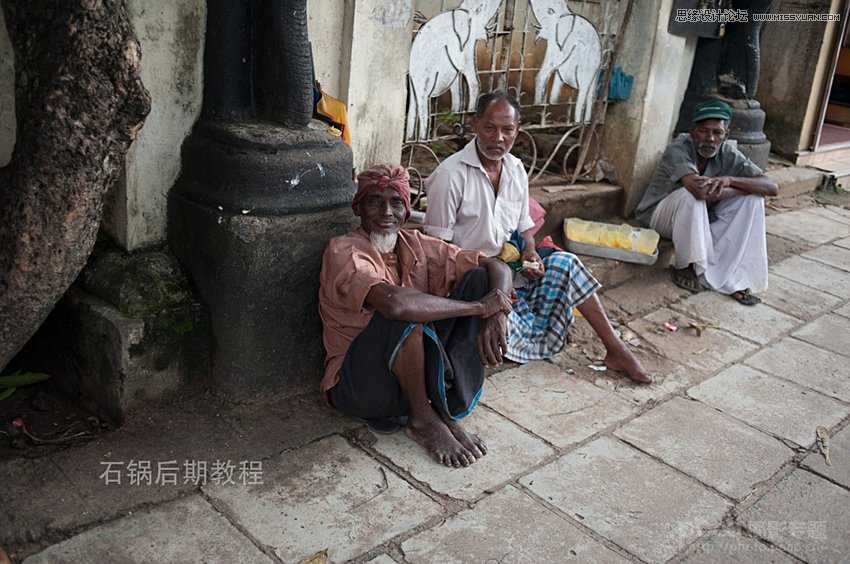
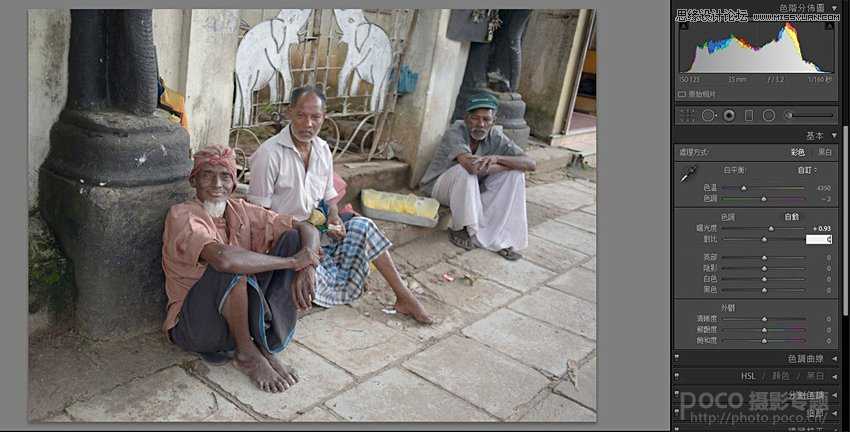
这是原图
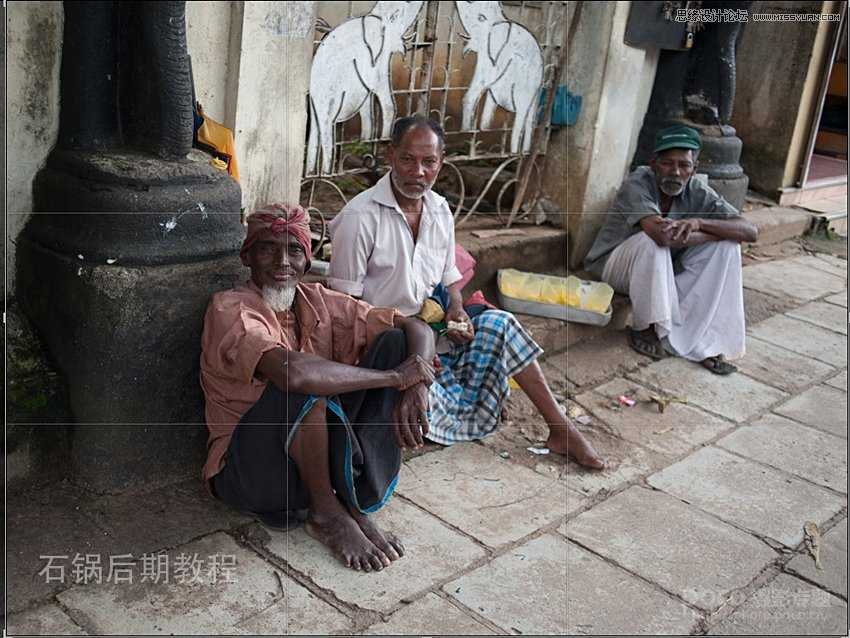
第一步是裁剪照片,由于使用的定焦抓拍后期需要对照片进行二次构图这样能更好的突出主体
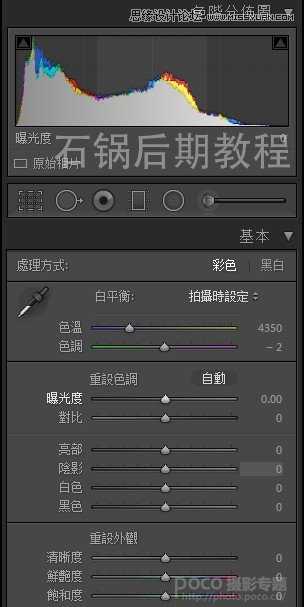
然后观察直方图,这张照片整体欠曝那么我们就稍微调整一下曝光度
调整后大家可以看到图片得到提升。接下来我会考虑这张片子走HDR高对比的方向,色调怀旧点,暖一点
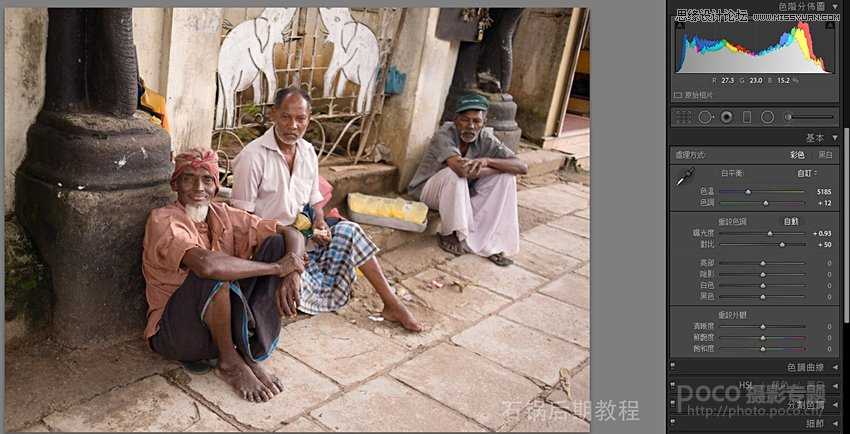
方向定好后第一步就是调色温,色温往偏暖的方向拉,同时提高了一些对比度
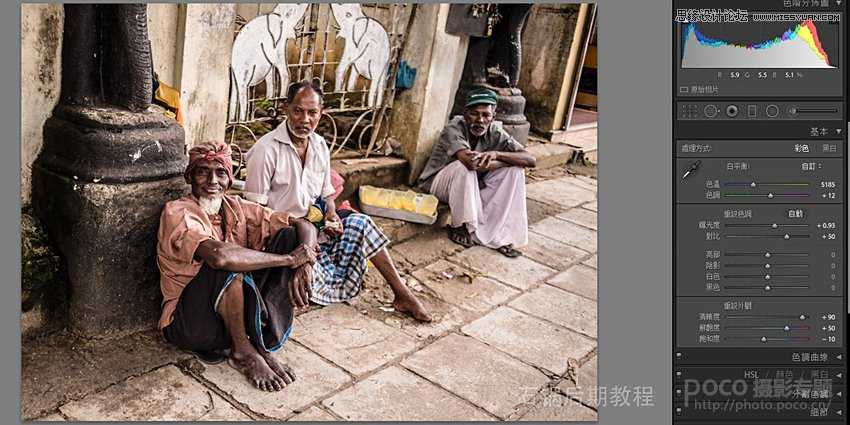
这一步很重要,就是调整清晰度,在调整的过程中大家可以看到已经有类似HDR的效果出现,那么这张片子雏形已经出来了
但是我们通过观察图片的暗部细节还没有很好的表现出来,所以我们开始对亮部和暗部进行调整,调整后大家可以看到图片HDR的效果更突显了,画面也达到最终效果的70%
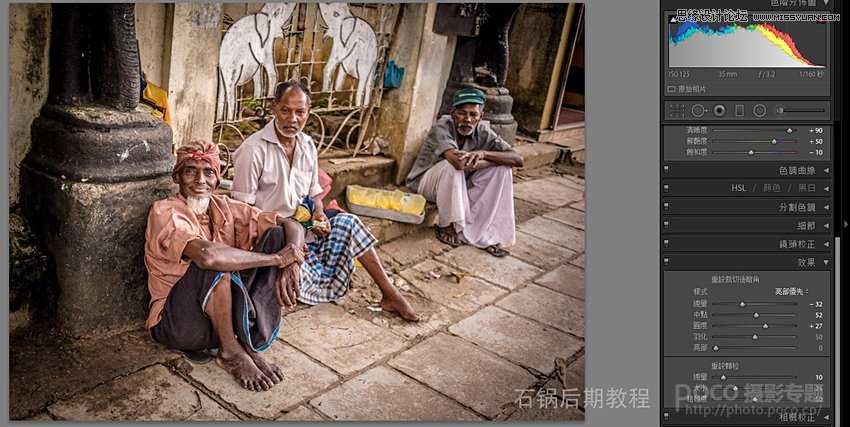
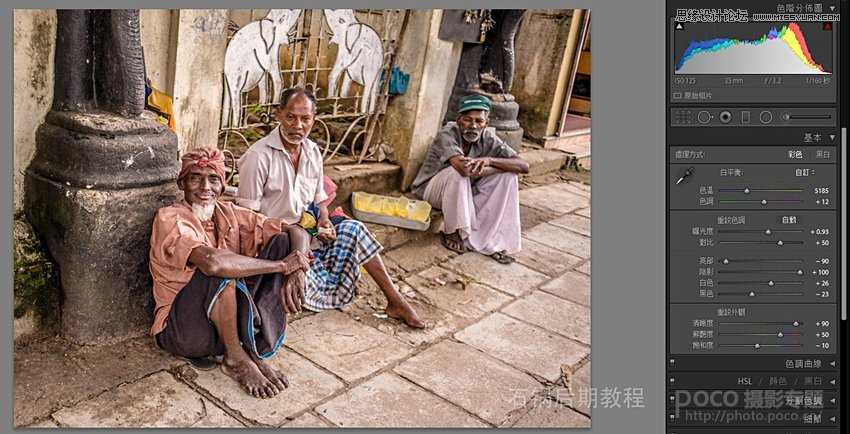
最后加一些暗角和颗粒感,把图片转存出来,在photoshop里打开
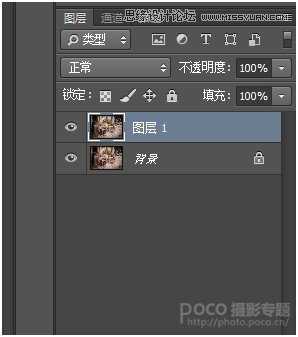
养成复制图层的好习惯

使用插件对图片进行HDR渲染(color efex这款插件相当实用,我觉得90%的摄影师photoshop里都有这个插件)

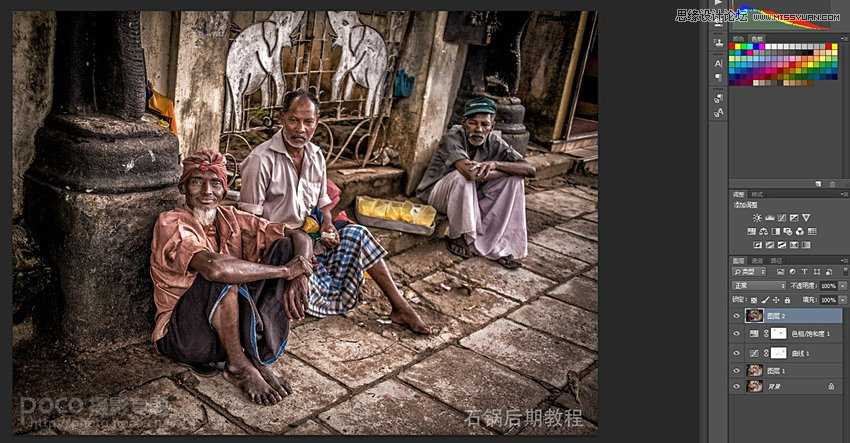
新建曲线把图片压暗
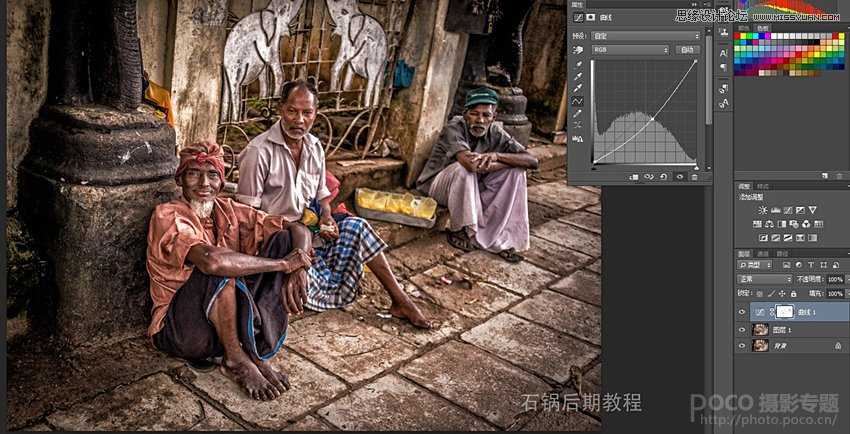
在蒙版里把人物擦出来,因为我只是想把环境压暗,突出人物所以把人物擦出来
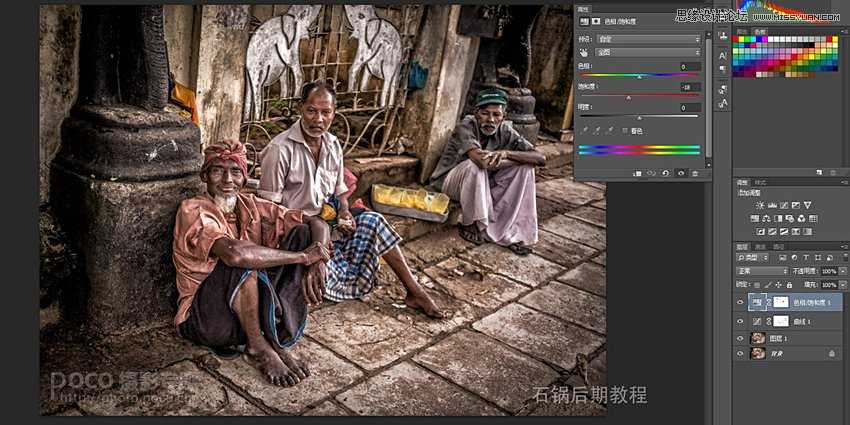
新建色相饱和度,降低全图饱和度,但保留黄色(用蒙版把黄色擦出来),黄色在整个画面起到平衡的作用,也通过保留黄色的饱和度提升画面的对比
风景、纪实拍摄的片子我大部分会先用LR来预处理,70%达到我要的效果。
这是原图
第一步是裁剪照片,由于使用的定焦抓拍后期需要对照片进行二次构图这样能更好的突出主体
然后观察直方图,这张照片整体欠曝那么我们就稍微调整一下曝光度
调整后大家可以看到图片得到提升。接下来我会考虑这张片子走HDR高对比的方向,色调怀旧点,暖一点
方向定好后第一步就是调色温,色温往偏暖的方向拉,同时提高了一些对比度
这一步很重要,就是调整清晰度,在调整的过程中大家可以看到已经有类似HDR的效果出现,那么这张片子雏形已经出来了
但是我们通过观察图片的暗部细节还没有很好的表现出来,所以我们开始对亮部和暗部进行调整,调整后大家可以看到图片HDR的效果更突显了,画面也达到最终效果的70%
最后加一些暗角和颗粒感,把图片转存出来,在photoshop里打开
养成复制图层的好习惯
使用插件对图片进行HDR渲染(color efex这款插件相当实用,我觉得90%的摄影师photoshop里都有这个插件)
新建曲线把图片压暗
在蒙版里把人物擦出来,因为我只是想把环境压暗,突出人物所以把人物擦出来
新建色相饱和度,降低全图饱和度,但保留黄色(用蒙版把黄色擦出来),黄色在整个画面起到平衡的作用,也通过保留黄色的饱和度提升画面的对比
原文:http://www.jb51.net/photoshop/132744.html
评论(0)